Introduction
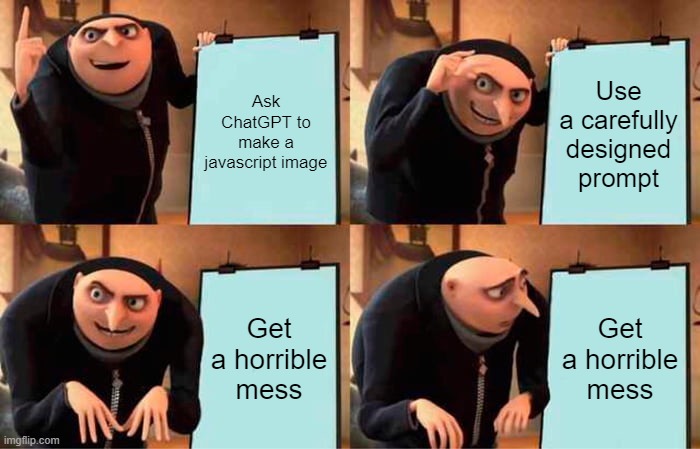
Communicating with AI is one of the most frequent challenges you will run into during your journey of getting the tool to be helpful. In this exercise you’ll practice providing small incremental change prompts to reach a result that you want, rather than a single large complex prompt.
Process
- Think of what sort of avatar or icon you want to use to represent you that you feel can be made with simple shapes. (Do not use any of the Pacman examples shown in class.)
- Identify individual parts of the avatar and think about how you would describe their properties (shape, location, color) in words. Pick a part as a starting point.
- Using our class’ custom interface, ask ChatGPT to code a P5.js image based on this starting point. Paste the output into the online p5.js editor and click Play to test the code ChatGPT wrote.
An example starting prompt:📍 Acting as an expert programmer familiar with the P5js JavaScript framework, write the code for a mouse face that could be used as an avatar icon.Assume I will paste this into a P5js editor, so don’t give me any HTML, just the script contents.
- Refine the starting prompt if necessary until you feel comfortable with it as a starting point.
- Start requesting small incremental changes to the image, refining the prompt if it’s interpreted poorly or if the result is not what you expected.
- Add a post with a title like Task 7: Mary Gonzalez and add the category “Task 7”.
- To the Visual tab add:
- The starting prompt and the image it created (as a screenshot).
- Two intermediate steps providing the image before your prompt, the prompt itself, and the image after your prompt, for a total of 4 images and 2 prompts.
- The final image and the final prompt.
- Complete the reflection survey form to get credit for this task.
🎗 Did you remember to add the Task 7 category and click Publish?
FAQ
What’s the grading rubric?
- Your initial prompt: from 0 to +1 points
- The initial P5.js image that resulted: from 0 to +1 points
- Two sets of the following steps: from 0 to +6 points
- Image before incremental change prompt
- Incremental change prompt
- Image after incremental change prompt
- Your final prompt: from 0 to +1 points
- Your final P5.js image: from 0 to +1 points
- You were thoughtful or imaginative: from 0 to +2 points (extra credit!)
- You were late: from 0 to -3 points, with one point off per week.
Your grade is the total of all points times 10, for a possible maximum of 100%.
Can you remind me how to get chatbots to write code?
Here are the slide decks for How To Prompt AI: Code part 1 and Code part 2. The second part gives an example of incremental prompting, which will be useful for this Task.
Can I see a cheatsheet for the P5js coding language?
Can I see a model answer?
As one example for reference, here’s a sample A+ assignment. This student had to interact with the chatbot 50 times, but the incremental prompting turned what initially looked like an ant into a believable icon for a dragon.
Your submission may look quite different and still get a good grade if you follow the rubric.